Today we put together a 70s style fixie and thought we would share the process with you.
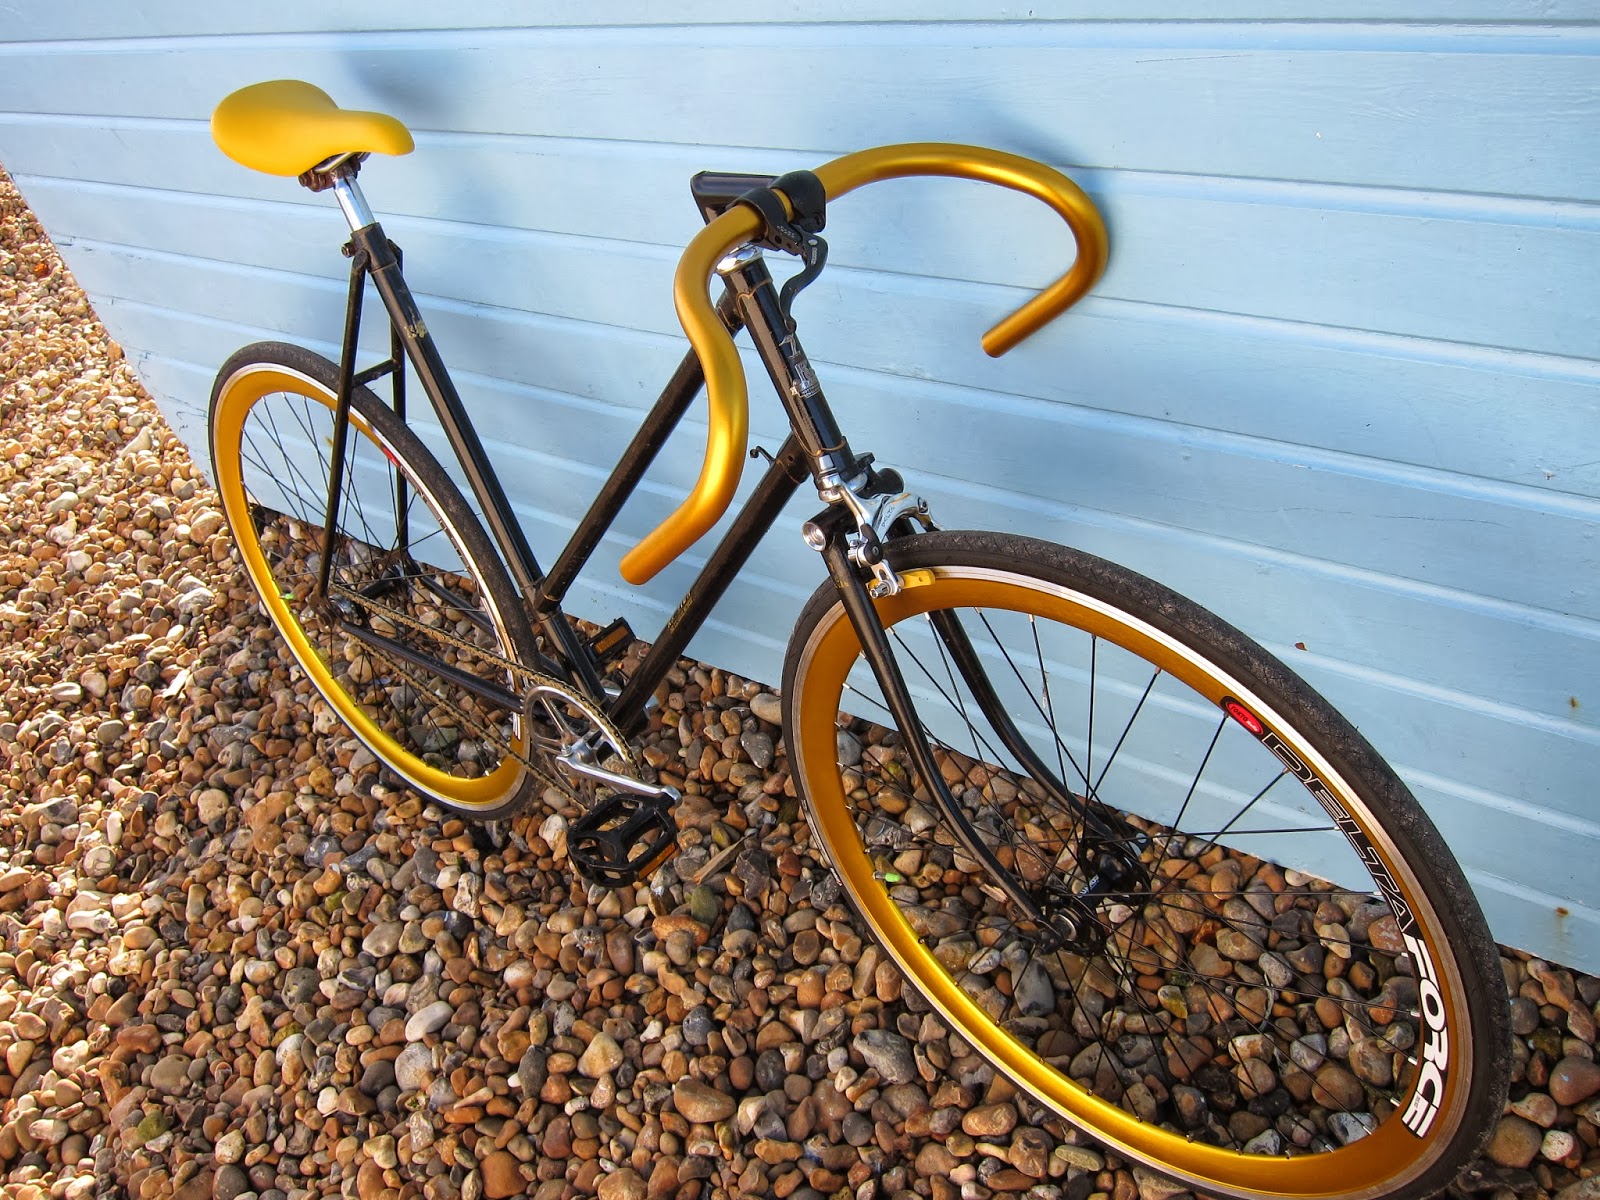
1. Resprayed frame in Bronze
and with the wheels attached to get an idea what it might look like.
2. With new sporty seat and cranks attached. These are aluminium and cotter less. The old quill has been removed to add in something a little more sporty.
3. Much more like it! But the brakes don't match the style we are looking for with some aggressive alloy bars.
4. With the crank in the correct position (by reversing the axel) the chain is measured, shortened and attached. It's beginning to take shape.
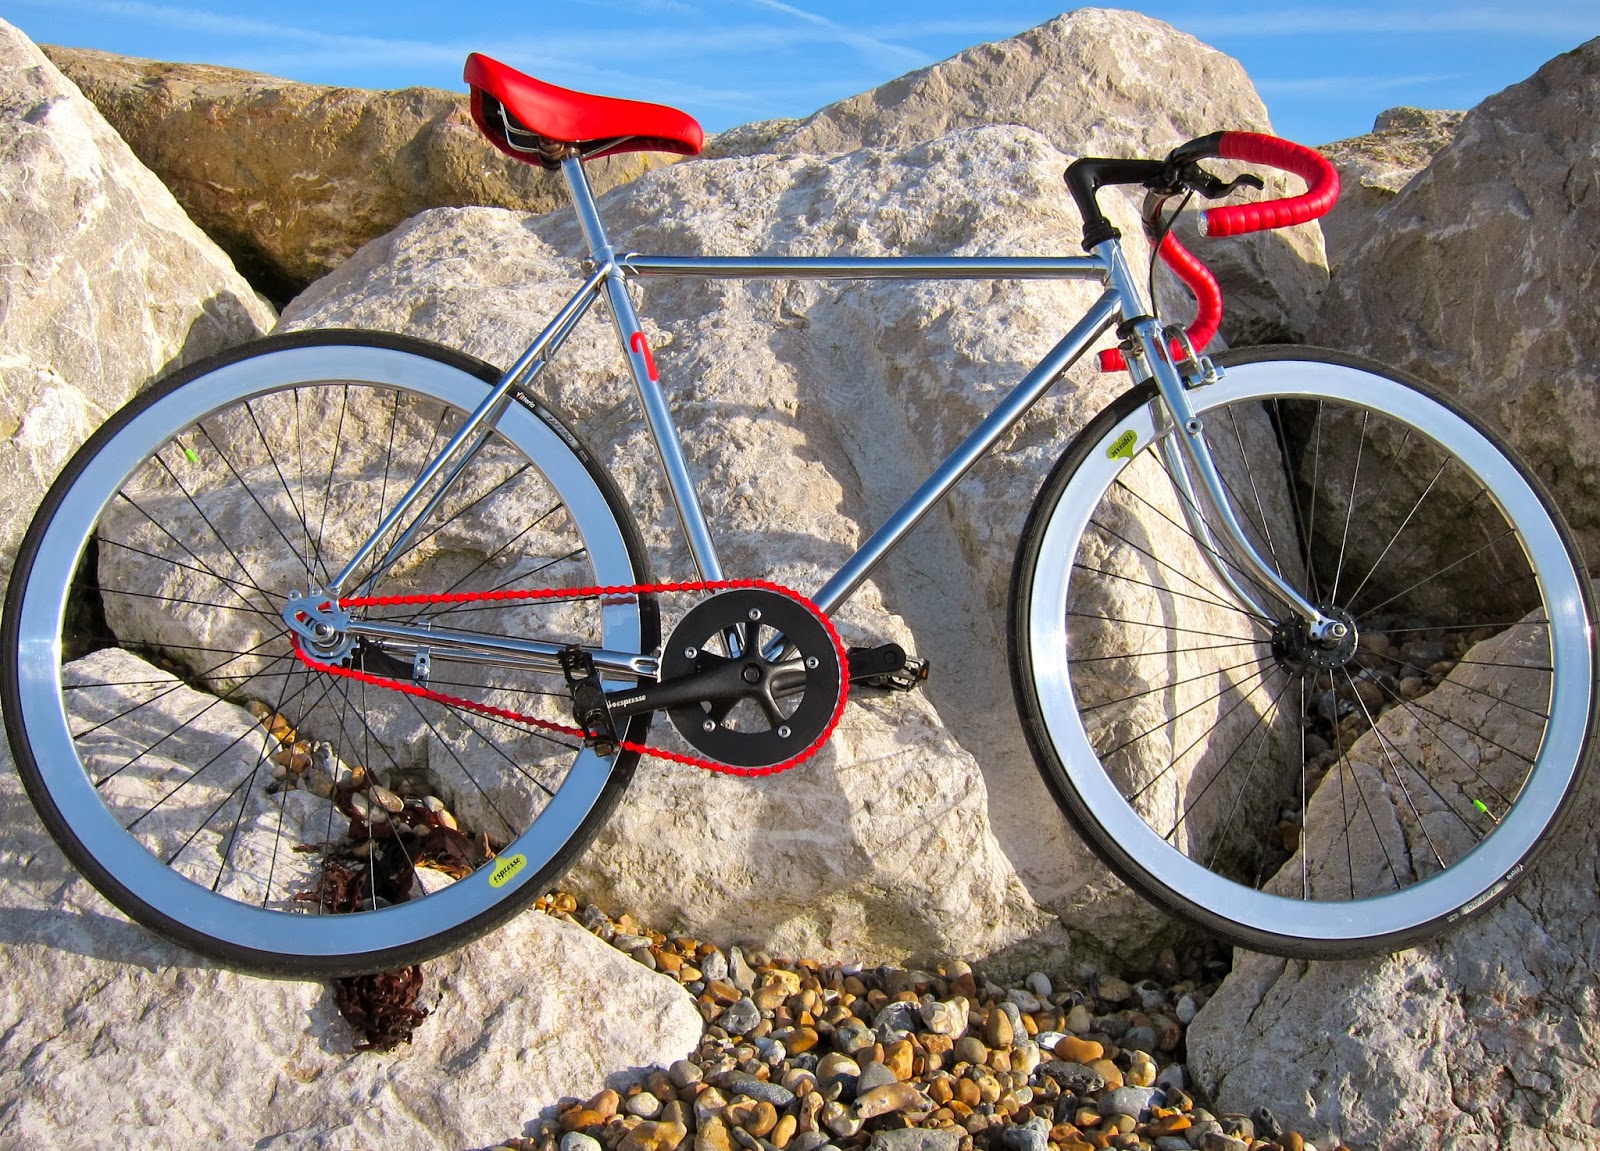
5. Brakes are removed and the retro fabric red bar tape put onto the new bars. We have used an A head conversion post to add in some modern touches to this 70s bike.
6. With the bar tape and a pair of spd's attached this bike is ready to ride. We are really pleased with the retro looks including the mavic rims on chrome fixie hubs. The bike is silent when riding and surprisingly light for a steel frame bike. We went for a ride from Lancing to Worthing in glorious sunshine.
Another Bouette bike is born.
.jpg)